DIY-ing can be intimidating, however oh-so-fun and fulfilling! I concentrate on easy tutorials utilizing common, easily-accessible, and safe products - Cabinet Painting Contractors 28213. However every now and then I take on a huge project, such as re-tiling my entire living location or repainting my cooking area cabinets!When I set out to repaint my cooking area cabinets, I knew it was a task I 'd just want to do once.
I also understood, from numerous earlier projects, that the doors would be the trickiest part. I was so pleased with the process I utilized and its results that I'm enjoyed share it with you here on Remodelaholic today. Painting cabinets can be daunting, however with a little persistence and planning ahead, you can conserve hundreds of dollars by doing it yourself.
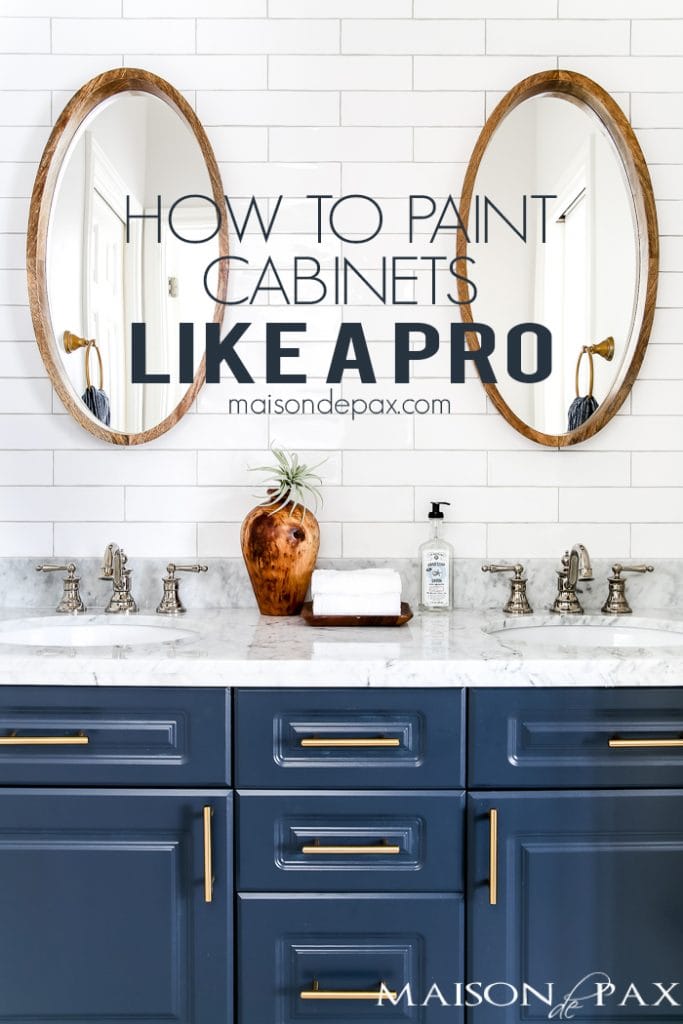
Actually, it's 3 secrets in one. To get a truly expert finish on your cabinets, you need: Self leveling, slow-drying paint and primerA mohair roller, and artificial brushA horizontal surface area to lay the doors on during painting and drying time. I used Benjamin Moore Advance paint and guide, which is specifically created to reduce brush strokes.
In order to have time to level out, the drying procedure takes a little longer, but it's so worth the wait! I had fallen for a Valspar color, "Totten's Inlet", so when I chose Ben Moore paint, I simply inquired to blend it in this color for me, in a satin finish.
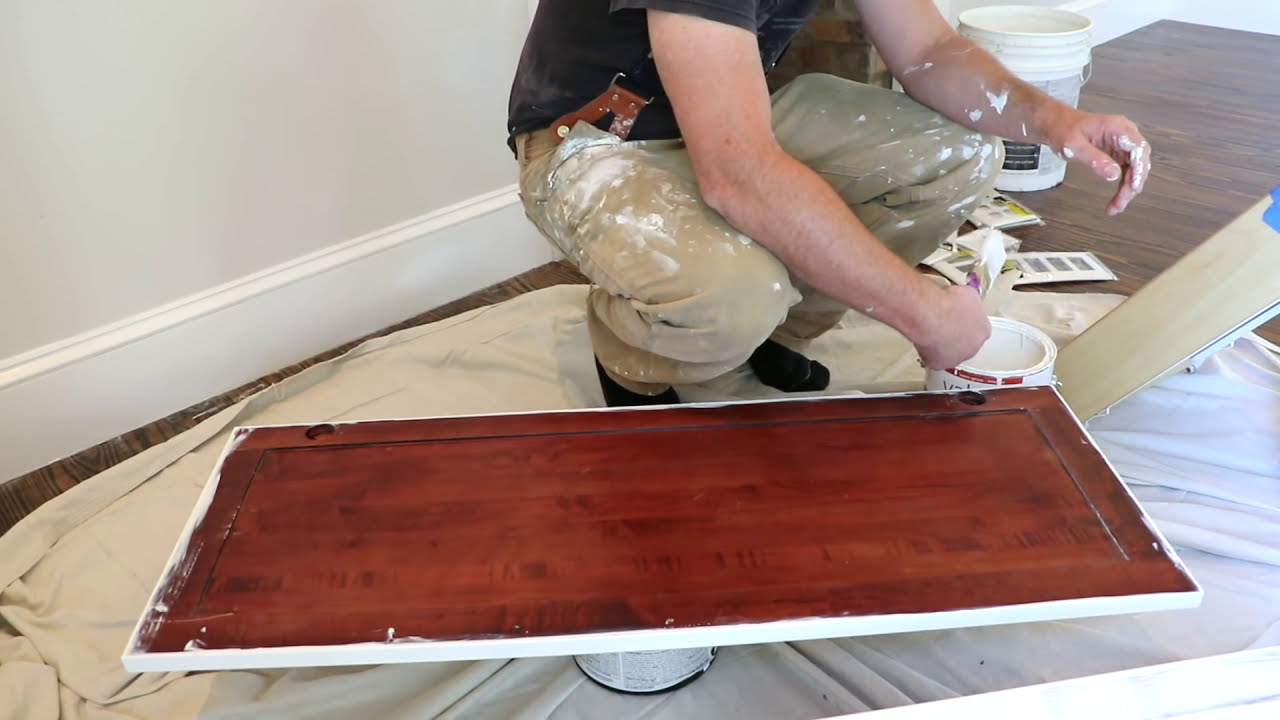
I established my work area so that I might lay the doors on a flat surface area to deal with them. Using sawhorses and two-by-fours, I made long worktables. In this manner, I could paint a door and leave it to dry while proceeding to the next door. The longer you can let your doors lay flat, the much better the paint can dry, which reduces drips.
Our How To Paint Kitchen Cabinets -Tips For Cabinet Painters 28215 A Smooth Finish ... Cabinet Painting 28212 Statements
Argh! That's not what we desire. So do yourself a favor, and put some believed into how you'll keep your doors flat for as long as possible. So, now that you have a work area in mind, let's carry on to the process. First, label all your doors and cabinets. (Do not get rid of a single door till it's labeled! I guarantee this step is worth the couple of minutes it takes.) Then get rid of the hinges and knobs.
Tidy the doors with a great degreaser, such as Krud Kutter. Sand completely. You want to eliminate all the gloss from the previous surface area so the primer and paint can adhere well. You do not need to remove all the stain or paint, simply the surface area layer of gloss. Clean well.
Do not use water or it will raise the grain of the wood, which disrupts a smooth finish. Roll on guide onto flat surfaces, then use the brush to apply a light coat into all the molding edges. Enable primer to dry totally. A word about priming: Yes, you should do it.
They do not serve the same purpose, and for a truly expert looking task, I suggest doing both. Caulk any open seams in between the panels and the molding. Permit caulk to dry entirely. This appears like a small detail, however it actually makes a distinction in the ended up product!Sand lightly again with 200 grit sandpaper.
Now you are prepared for a coat of paint, and a little finesse in how you use it. I discovered that there is an order that assists eliminate brush strokes and drips. Essentially, you wish to work from the lowest panel surface to the highest. Initially, use the roller on the interior panel. Cabinet Painters 28226.
Must-know Tips For Painting Kitchen Cabinets - Better Homes ... Can Be Fun For Anyone
Then utilize the roller once again on the outside, or top, panels and around the edges of the doors. By doing this, you can ravel any additional paint left on the edges from the brush. Do not overload your brush and roller, and attempt to get a nice light, even coat of paint on the door.
Once the paint is dry (follow manufacturer directions on the can and don't hurry!), sand and tidy once again. Cabinet Painting 28227. If you are painting the inside of the cabinet doors, you'll desire to flip them over and use the very same procedure prior to putting the 2nd coat on the front. Finally, use a last coat repeating step 8. Let your painted doors cure well for a number of days before rehanging them, so they don't adhere to the cabinets.